

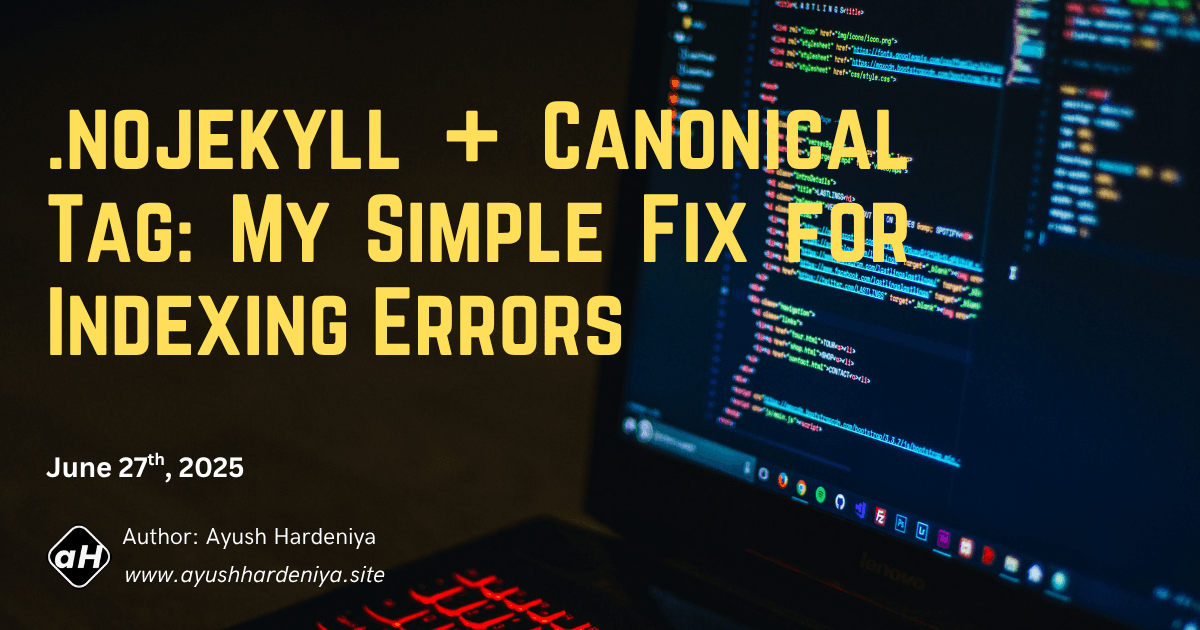
.nojekyll + Canonical Tag: My Simple Fix for Indexing Errors
Hey, I'm Ayush Hardeniya (aka Ayush Sharma) 👋 An engineering student who treats every coding challenge like a 🎮 new level to conquer. Through daily reflections, real-world problems, and code breakdowns, I document my journey --- not just to grow, but to help others grow with me. Because honestly... I don’t code, I play it. 🔥
🗓️ Date: June 27, 2025 | 🕦 Time: 11:30 AM
Two days back, I received a mail from Google Search Console saying that two of my website pages weren’t being indexed. The report showed that both pages were stopped from being crawled due to an error.
📸 [Search Console error message]

🔍 Investigating the Issue
After some research, I discovered that this could be happening due to a redirecting issue. To fix it, I added a canonical URL to the <head> section of both HTML pages. This helps tell search engines the correct version of a page, avoiding confusion.
📸 [Canonical tag added in HTML]

🤔 And Then I Found Out About .nojekyll
While researching more about indexing issues on GitHub Pages, I came across something new – a file named .nojekyll.
.nojekyllis a special file you add to your GitHub Pages repo to tell GitHub not to use Jekyll processing.
Why? Because Jekyll, by default, ignores folders that start with an underscore (_), and we don’t want that.
📸 [Explanation of .nojekyll - Reference image]

💻 Making the Change Using Git (From VS Code)
Until now, I always created files manually using the cursor, but this time, I wanted to do it via the Git terminal inside VS Code.
At first, I ran:
add .nojekyll
But got an error because the file didn’t exist yet 😅
📸 [Git error for missing file]

💡 Learning to Create a File via Terminal
Then I Googled it, and finally discovered the correct way to create a new file using the command line:
echo > .nojekyll
And boom! File created 🎉
✅ Staging, Committing, and Pushing Changes
Once the file was there, I staged the change using:
git add .nojekyll
Staging simply tells Git: “Hey! This file exists now. I’m ready to save this change.”
Then committed it:
git commit -m "Added .nojekyll to disable jekyll processing"
And finally pushed to the main branch:
git push origin main
📸 [Staging + Commit + Push process]

🔁 Re-submitted to Search Console
After the file was live, I went back to Google Search Console and resubmitted both pages for indexing.
📸 [Reindexing request]

Still facing the issue? Here is the solution…
Final Cleanup & Indexing Success!
After adding the .nojekyll file and canonical URLs, I noticed that the real issue was with inconsistent URLs - especially those missing the trailing slash (like /about instead of /about/).
🔧 So here’s what I did next:
✅ Updated all internal links (e.g.,
/about→/about/)✅ Fixed URLs in the
sitemap.xmlto include trailing slashes✅ Set canonical tags with proper URLs (
https://ayushhardeniya.site/about/)✅ Re-submitted URLs and sitemap in Google Search Console
📸 [Updated Sitemap.xml with trailing slash]

🎉 Final Result?
Google indexed the pages successfully!
And I learned the importance of consistent URL formatting - especially on static site hosts like GitHub Pages.
📸 [Search Console showing indexed page confirmation]

This was one of those small but super insightful learning days, and I’m glad I documented it here!;
~Ayush Hardeniya